80’s Prom Dress Alterations: What to Change and Keep
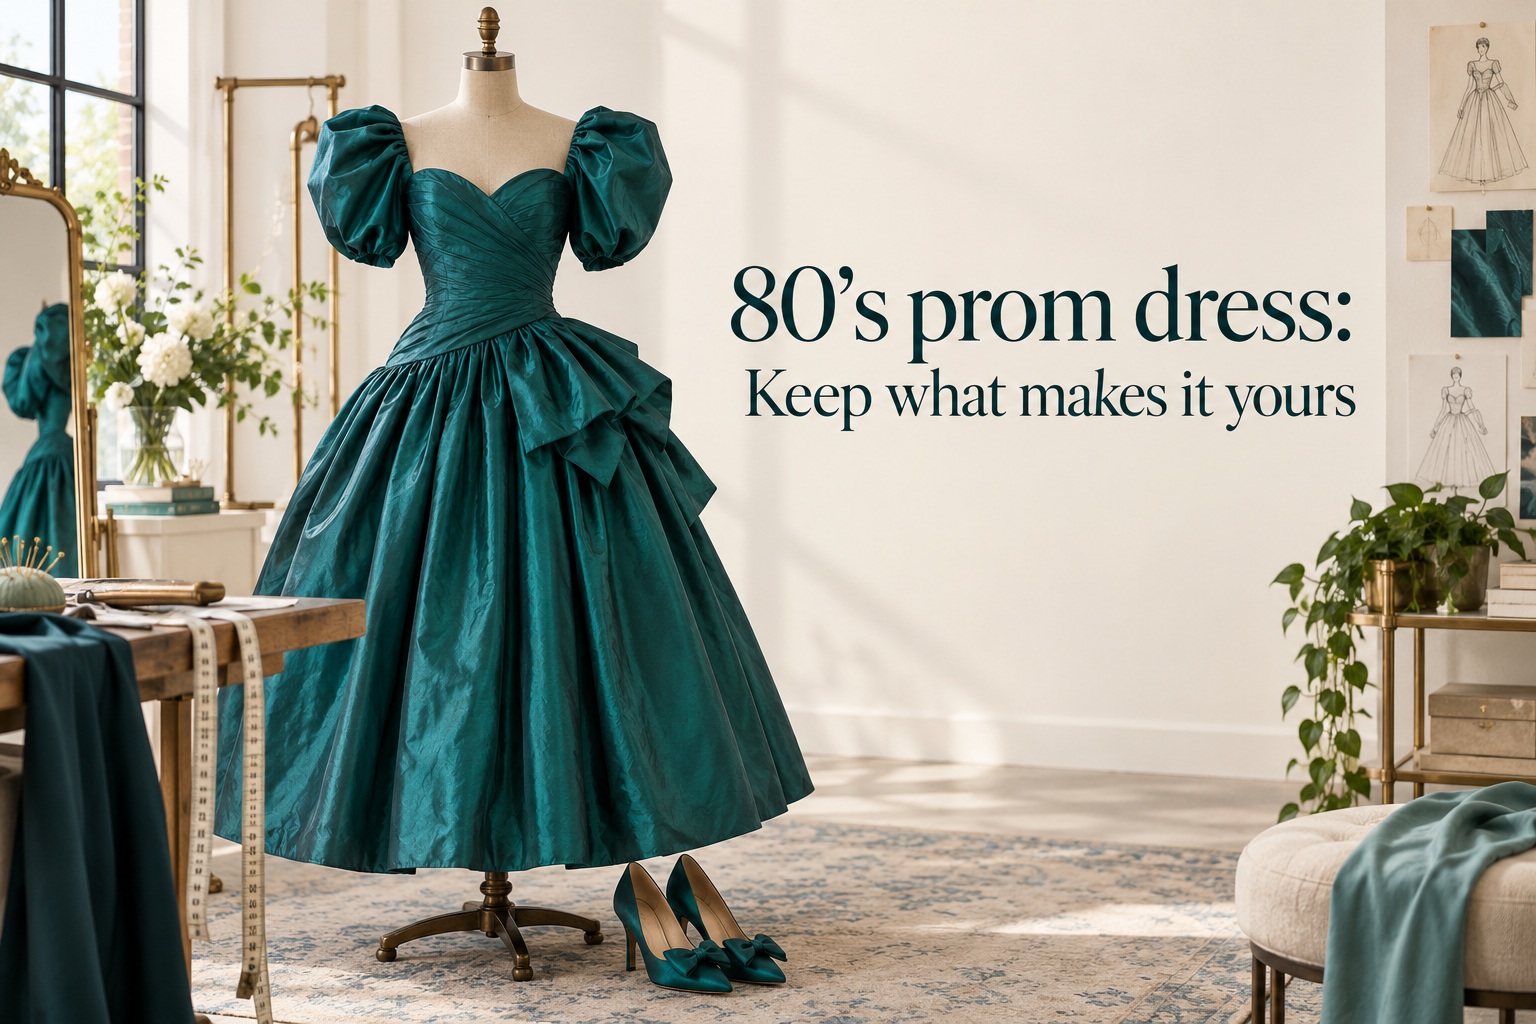
An 80’s prom dress can look wonderful on a hanger and still be difficult to wear for a full evening. The bodice may shift when you raise your arms, the hem may catch under your shoes, or a closure may feel strained when you sit. Those are fit and construction questions, not reasons to give up on the dress. A careful alteration plan can make the garment feel secure while keeping the details that made you choose it.
Start by separating three goals: make the dress safe and comfortable, make the fit work with your body and shoes, and decide which signature details you want to preserve. You do not have to remove every bow or reshape every dramatic line to make an older gown wearable. The most useful first step is an honest inspection, followed by a fitting in the complete outfit. This guide focuses on that process, so you can arrive at a tailor with clear priorities instead of a vague request to make the dress look modern.
Start With the Dress’s Construction and Condition
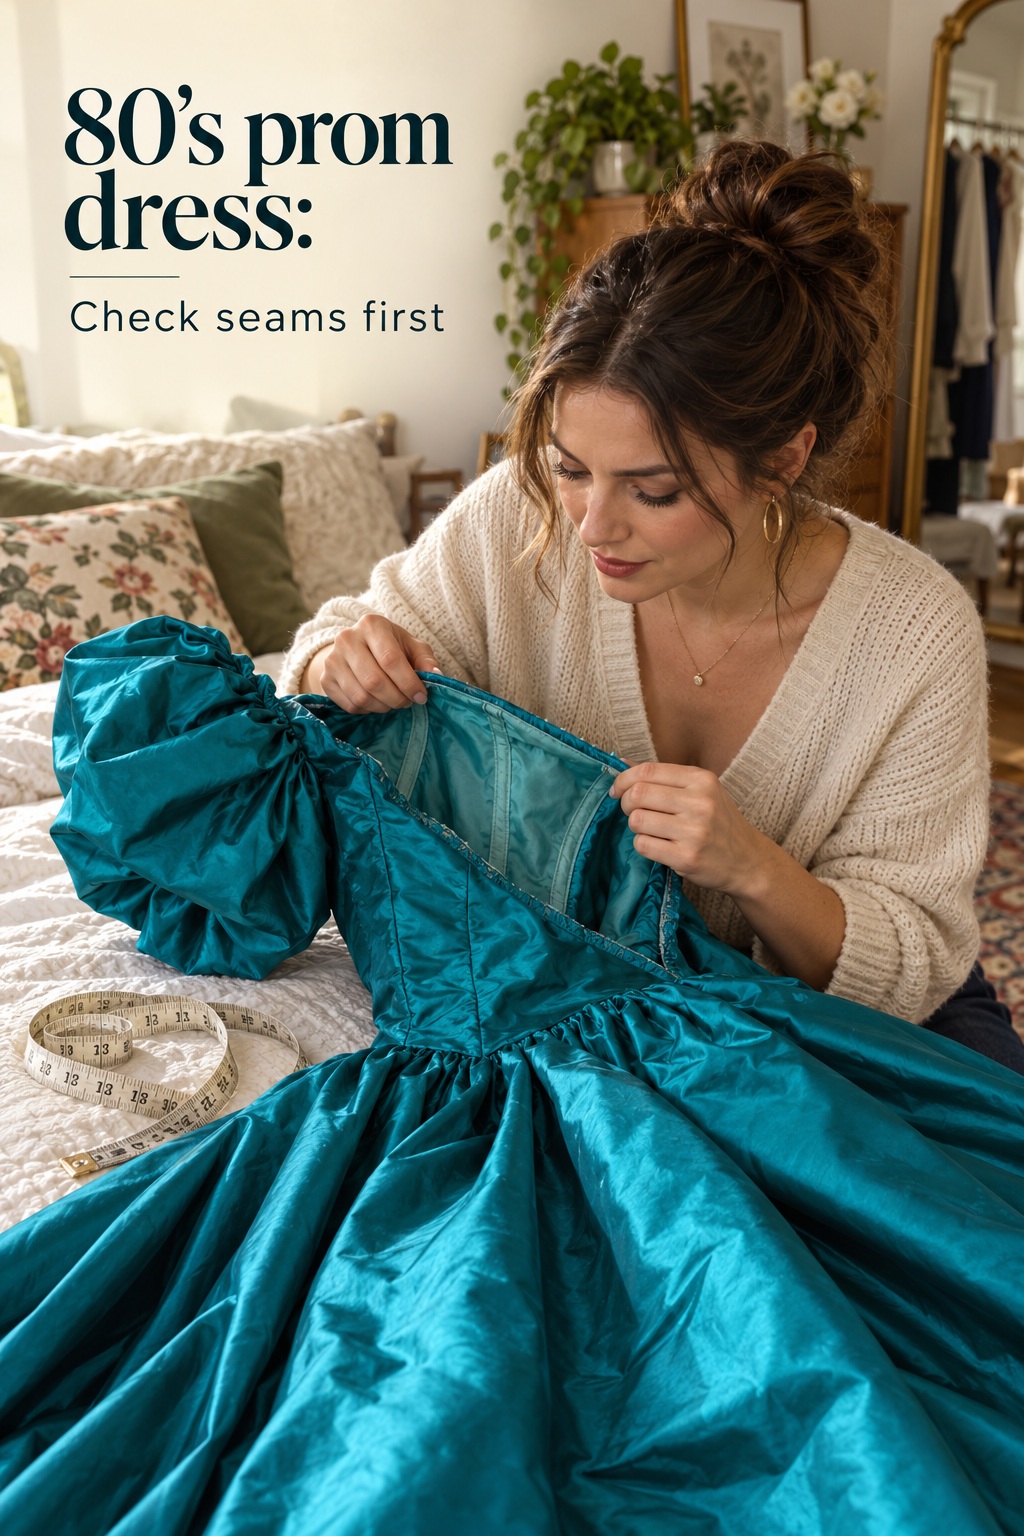
Before asking for a hem or a smaller waist, look at how the dress is assembled. Turn it inside out if the lining allows you to do so without pulling at fragile areas. Notice where the seams sit, whether the bodice has a lining, how the zipper or buttons close, and whether the skirt’s volume comes from layers, a separate underskirt, stiff netting, or gathered fabric. You are not expected to diagnose the garment like a professional. You are collecting useful observations that will help a tailor judge what can be adjusted cleanly.
The Fashion-Note Edit
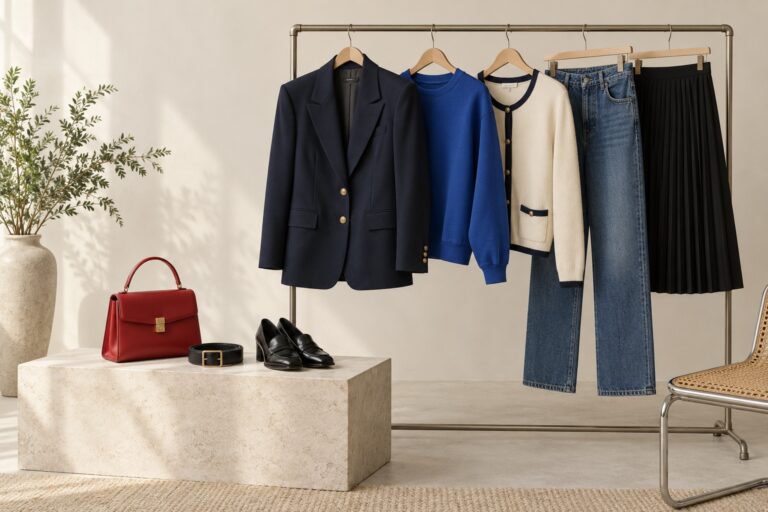
Five effortless pieces to refresh your everyday wardrobe
A polished, practical edit for workdays, weekends, and everything in between.

The Drop
Women’s Blake Long Blazer
A longline, tailored blazer with a notched collar and a single-button closure—an easy layer for denim, dresses, or office-ready looks.
Shop the blazer
Amazon Essentials
Women’s Lightweight Crewneck
A soft, lightweight sweater with a clean crew neckline—the kind of reliable layer that works from cool mornings to air-conditioned spaces.
Shop the sweater
Amazon Essentials
Women’s Loafer Flat
A classic flat loafer that gives casual outfits a more polished finish and pairs naturally with tailored pants, skirts, and straight-leg jeans.
Shop the loafers
Levi’s
Women’s 501 90s Jeans
A relaxed, vintage-inspired take on the iconic 501 silhouette—made for an easy, lived-in look without the thrift-store search.
Shop the jeans
Colorfulkoala
High-Waisted 7/8 Leggings with Pockets
Soft, four-way-stretch leggings with side pockets and a high-rise waistband—designed for movement, errands, and off-duty comfort.
Shop the leggings
Affiliate disclosure: This section contains affiliate links. If you make a purchase through these links, I may earn a commission at no additional cost to you. Product selection, pricing, availability, and delivery terms may change—please review the current details on Amazon before purchasing.
As an Amazon Associate I earn from qualifying purchases.
Check the stress points gently. Look around the armholes, shoulder seams, waist seam, zipper tape, hooks, and any place where beads or appliqués meet the fabric. A loose thread is different from a seam that is opening under tension. If the dress smells musty, has staining, brittle or thinning fabric, missing embellishment, or a sticky zipper, pause before wearing or cleaning it. Photograph what you see and ask a specialist in formalwear or vintage garments to assess the material and construction. Avoid testing old seams by pulling them hard or applying household stain treatments without knowing how the fabric will respond.
Your wedding style is personal.
Your plan should feel that way, too.
Zarellea keeps your guest list, budget, vendors, and every next step beautifully organized — so you can focus on the moments that feel like you.
Next, identify the features that give the dress its personality. Perhaps it is a sculpted shoulder, a gathered waist, a large back bow, a ruffled neckline, a full skirt, or a particular sleeve shape. Circle one or two details you would be sad to lose. Those become your preservation priorities. The point is not to declare every period detail untouchable. It is to make changes deliberately instead of removing the very feature that drew you to the piece.
It can help to take three photos before your appointment: the dress on a hanger from the front, the back, and an inside view of the area you want adjusted. Add a close-up of any fragile trim or closure. Write down which parts already feel comfortable and which parts interfere with movement. A short record makes it easier to compare the original and altered fit, especially if you have several appointments or the dress needs a repair before it can be tried on safely.
Be precise about what you know and what you do not. If you are unsure whether a dress is genuinely from the 1980s or a newer revival, describe it as a vintage-style or 80s-inspired dress until you have reliable evidence. The label, seller description, or dramatic silhouette alone may not settle its age. For alteration planning, the construction in front of you matters more than a perfect date: fabric, lining, seams, closures, and condition determine what a professional can reasonably change.
Choose Alterations by Impact, Risk, and Reversibility
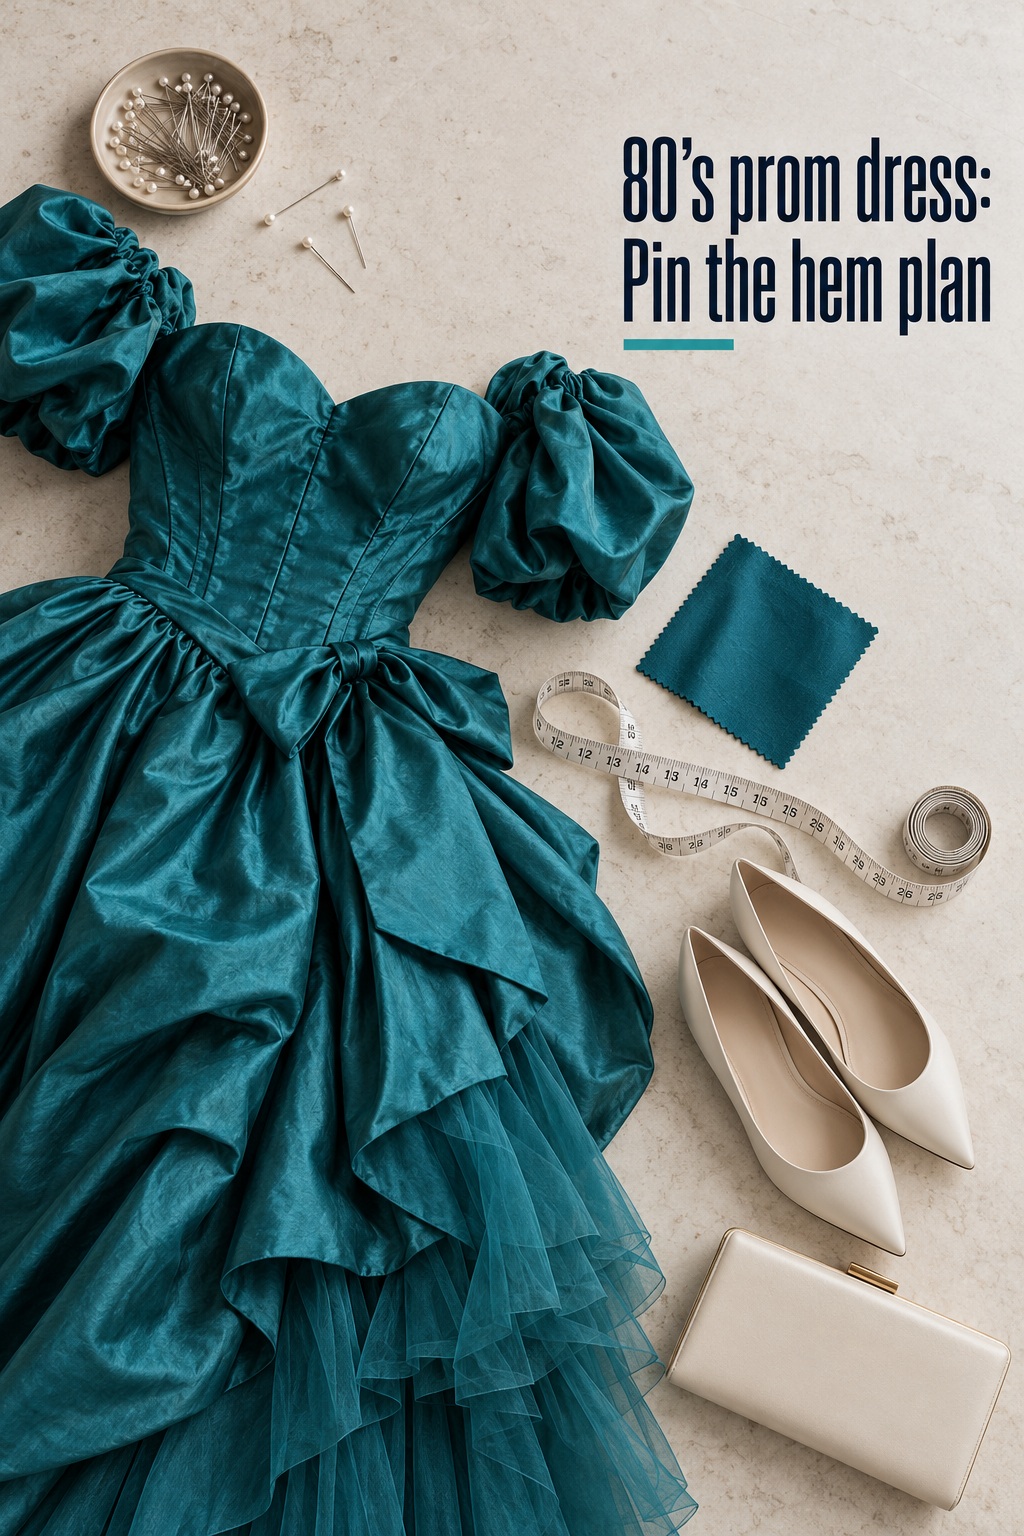
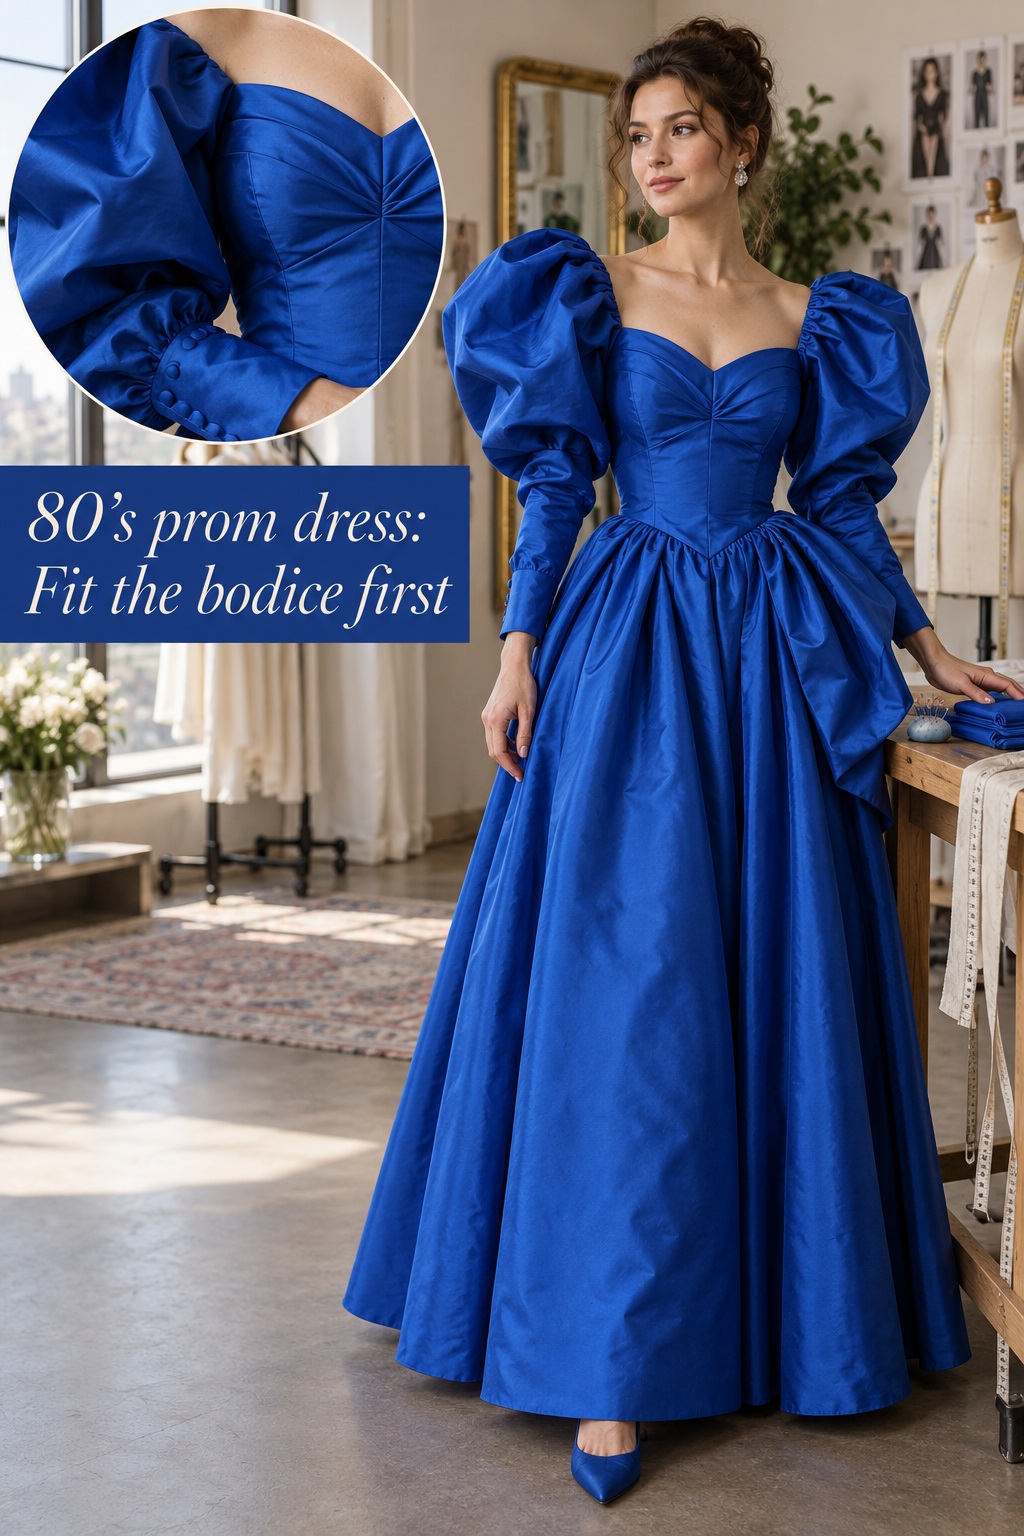
When several things feel wrong, solve them in order. Begin with support and fit through the bodice, then check the waist and skirt balance, then set the hem with the shoes you plan to wear. A neckline that slips or a closure under strain can affect confidence all evening. A hem that is too long can create a trip hazard. A decorative bow that feels too prominent may be less urgent if it is not stopping you from moving comfortably.
Ask the tailor to explain the simplest adjustment that will solve the problem. Could a strap be shortened, a hook replaced, a seam let out slightly, or a lining secured? Can the hem be adjusted without cutting away fabric that may be needed later? Is a removable petticoat or modest support layer a better answer than rebuilding the skirt? A repair that uses existing seams or leaves extra material where possible can preserve more options than cutting or reshaping a large section. Whether an adjustment is reversible depends on the specific garment, so treat that as a question for the person examining it.
Separate fit changes from style changes. Taking in a side seam to stop the bodice from shifting is a functional request. Removing shoulder pads, changing the neckline, shortening a long sleeve, or converting a full skirt into a narrow shape changes the garment’s design. Those larger changes can require substantial reconstruction, and may affect the dress’s balance or the way its lining and outer layer hang. A documented makeover of an 80s prom gown involved changing its bows, bodice, and skirt rather than making a quick adjustment. Use that distinction to decide whether you want a fitted version of the original dress or a redesigned gown.
If the dress is delicate, embellished, or meaningful to your family, start with the least invasive plan. Ask about stabilizing a weak area before altering it, and whether a sample or hidden test can be done before work begins. Do not treat these as instructions to sew through delicate fabric yourself. They are prompts for a conversation with a professional who can inspect the garment. A bridal alteration specialist interviewed by Teen Vogue describes tailoring as part of event dressing and emphasizes evaluating the actual fit; that is a useful standard for any formal vintage piece.
Finally, agree on a stopping point. You might decide that the bodice must stay secure, the hem must clear the floor, and one signature bow or sleeve detail must remain. That is already a complete brief. Trying to modernize every line can turn a focused fit project into a costly redesign. If the tailor says a change is not practical, ask what smaller adjustment would improve comfort without rebuilding the silhouette. A good decision can be to wear the dress as it is, add a discreet support, or choose another event for a garment that needs more repair than you want to undertake.
Prepare for a Useful Tailor Appointment
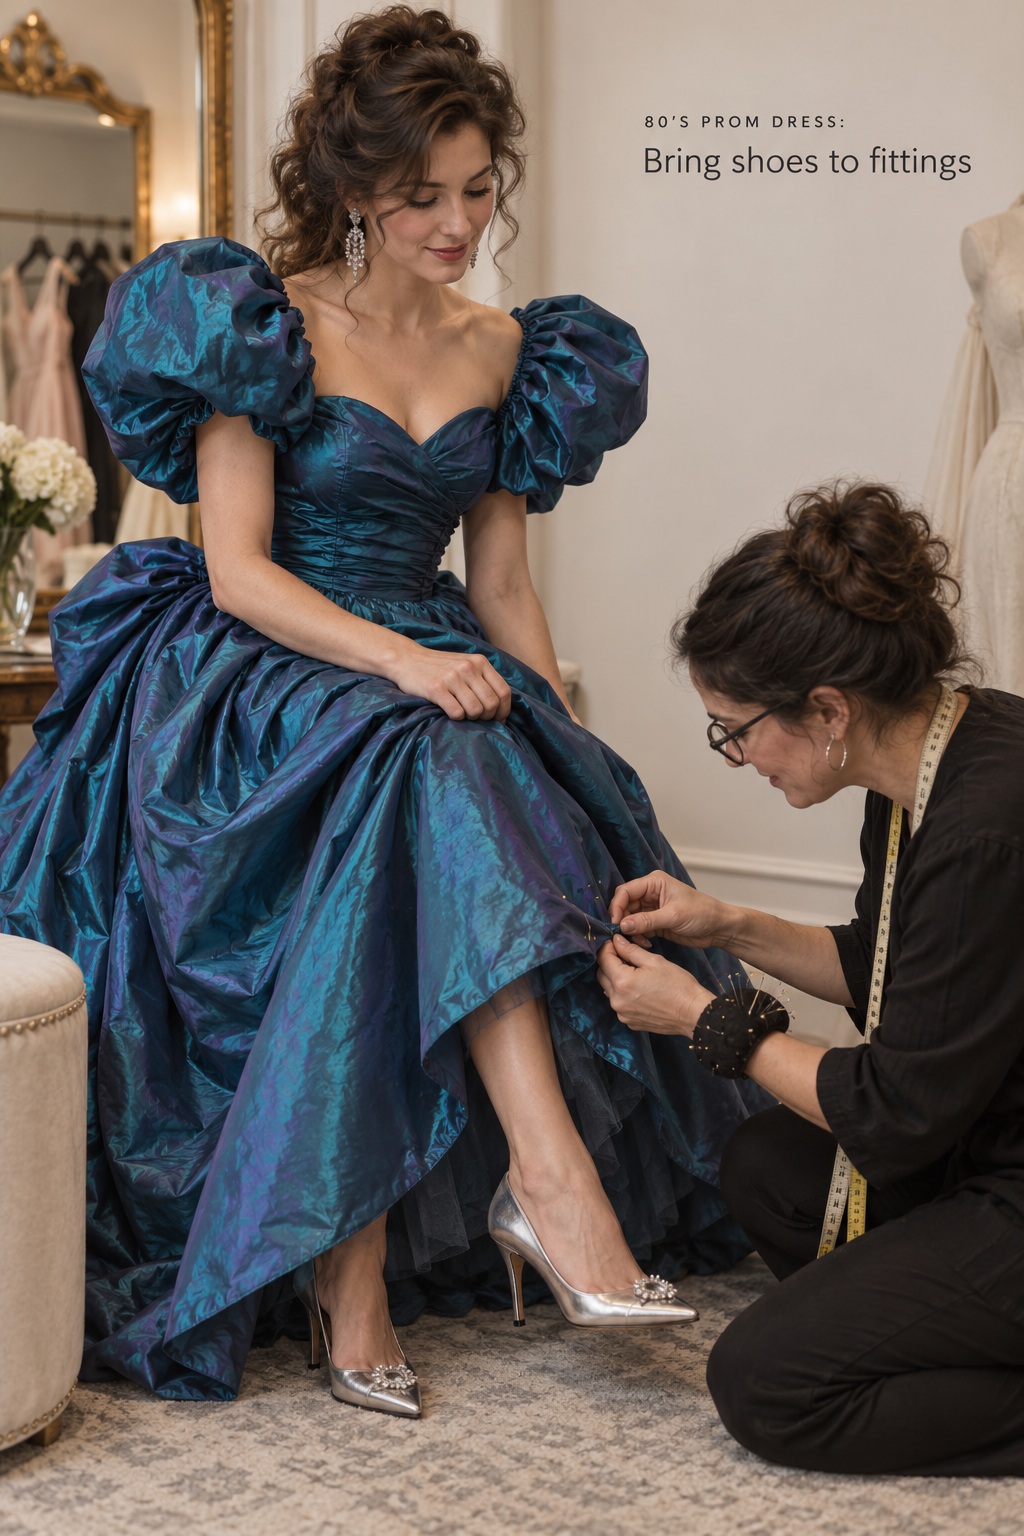
Bring the dress clean enough for a fitting, but do not attempt aggressive cleaning to make it presentable. If care is uncertain, ask before washing, steaming, or pressing it. Pack the exact shoes, undergarments, and any support layer you expect to wear. A change in heel height can change where a long hem falls. A different bra or bodysuit can alter the fit at the bust, neckline, and back. The closer the appointment is to your real outfit, the more useful the pins and measurements will be.
Prepare a short list with three headings: must fix, would improve, and preserve. Under must fix, write only issues that affect security, comfort, or safe movement. Under would improve, note preferences such as a cleaner sleeve line or a little more room at the waist. Under preserve, list the details that make the dress feel special. This gives the tailor room to suggest a solution while keeping you involved in the decisions.
Useful questions are specific. Ask what is causing the fit problem, what options address it, whether the work affects the lining or embellishment, and how the change may alter the drape. Ask which areas are straightforward and which would require rebuilding. If there is a deadline, ask how many fittings are realistic and when the final try-on should happen. A professional may need to see the gown in person before estimating feasibility, so treat online advice as preparation rather than a substitute for inspection.
During the fitting, describe sensations as well as appearances. Say where the bodice pulls, whether a sleeve restricts your reach, or if the waist seam twists when you walk. Instead of saying only “make it tighter,” explain whether the dress slips, gaps, or feels loose when you sit. If you do not like a proposed change, say so before work begins. Bring the reference photos you took earlier, but let the garment itself guide the final plan.
Ask to confirm the changes before the tailor cuts or removes material. This matters most for a hem, a bow, a train, or a decorative layer because removed pieces may be difficult or impossible to restore. If a detail can be basted or pinned for a temporary preview, request a look in a mirror and photos from the front, side, and back before approving a permanent change. Not every garment supports a temporary trial, but asking creates a clear moment to review the plan.
Leave enough time for at least one follow-up fitting if the work is more than a simple repair. The exact schedule depends on the tailor, the garment, and the event date. Do not assume a vintage formal dress can be altered at the last minute just because the requested change sounds small. A zipper replacement, fragile seam, layered skirt, or unusual lining may add steps. Set the appointment early enough that you still have a backup plan if the dress needs more work than expected.
Test the Finished Dress for a Real Evening
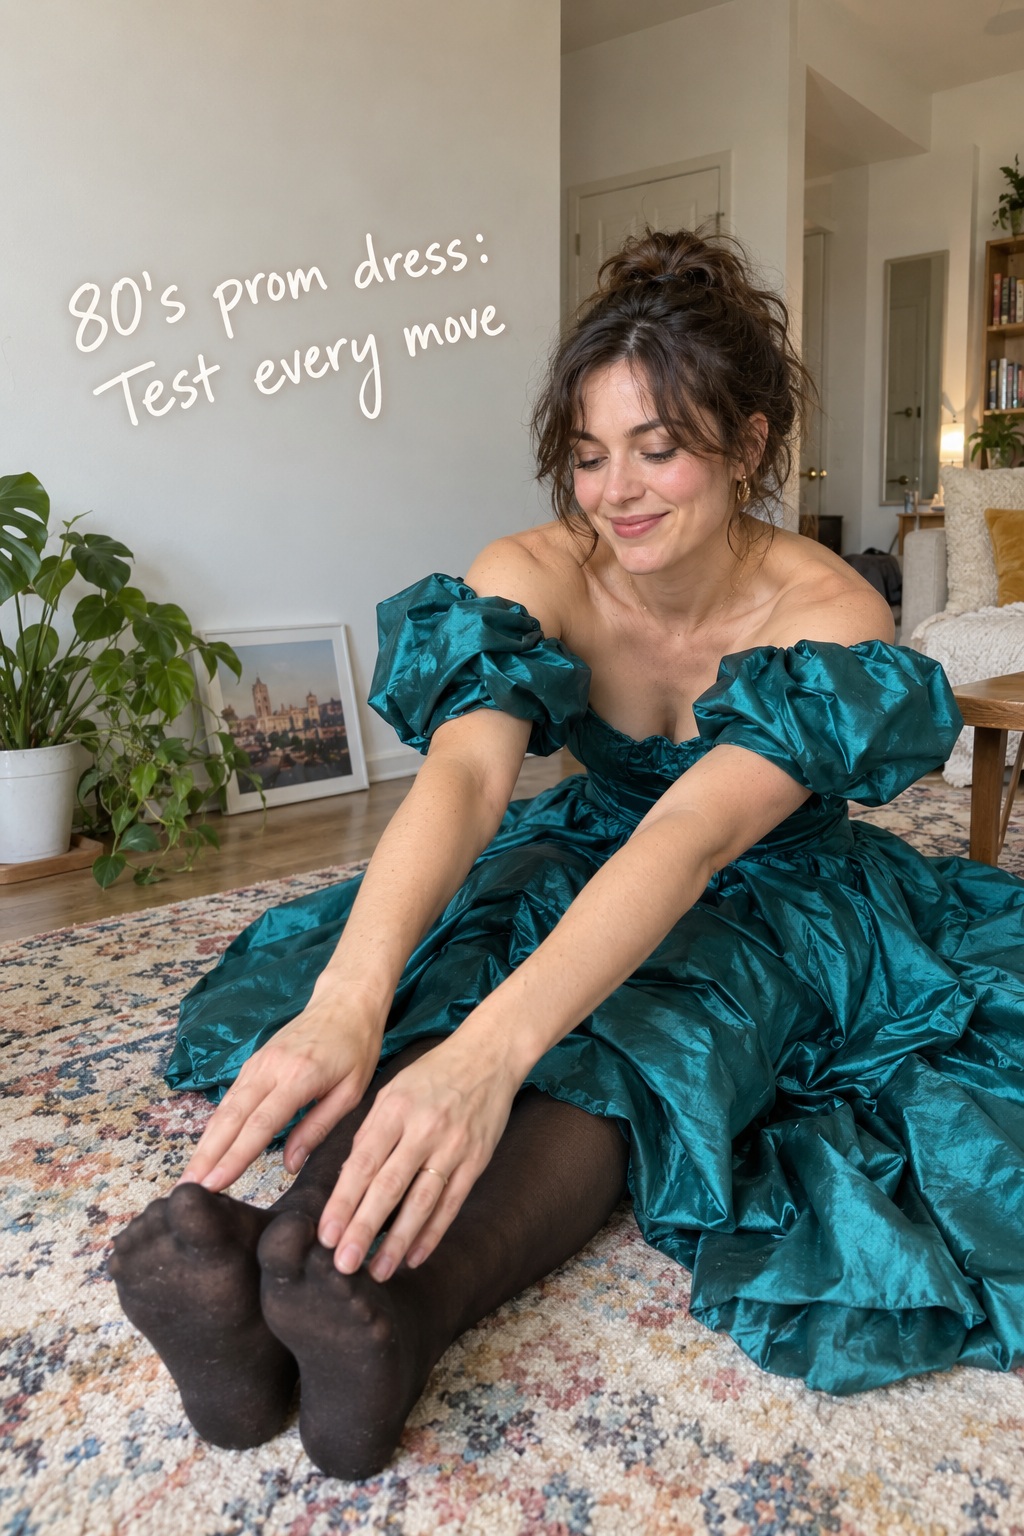
A fitting is not complete when the dress looks smooth while you stand still. Put on the full outfit at home and spend several minutes moving through the actions the evening requires. Walk across the room, turn, sit in a chair, stand up, reach overhead, and take a few steps as if you were entering a car or climbing stairs. If the event includes dancing, move your arms and take a few gentle steps. A prom-dress fit checklist from Lakeside Bridal similarly emphasizes movement and sitting as practical tests. The same idea applies to any long formal evening.
Check the bodice from several angles. Does the neckline stay where you expect? Do straps dig in, slide, or show tension? Does the zipper lie flat without strain? Can you breathe comfortably after sitting? If the top shifts when you raise your arms or lean forward, note when it happens and contact the tailor for advice. Do not rely on repeatedly pulling the dress back into place as your plan for the night.
Look at the hem with your chosen shoes, then walk on a surface similar to the venue if you can. The fabric should not catch beneath your heel or drag so heavily that you are constantly lifting it. Check the back as well as the front, because a train or longer rear hem can behave differently as you turn. If you intend to change into flats later, test that option separately and decide whether the hem will still be manageable.
Inspect anything that could snag or open. Move your arms to see if beading catches on a sleeve or lining. Sit and stand to see whether a closure, waist seam, or hook is under pressure. Check that jewelry does not catch a neckline and that a bag strap does not rub against delicate trim. These are small checks, but they can reveal a problem before you leave home rather than when you are already at the venue.
Make a simple backup kit without turning it into a sewing project. Depending on the garment and the tailor’s advice, you might carry a small safety pin, fashion tape, a spare hook, or a pair of flats. Do not use adhesive or pins directly on fragile fabric unless you know they are suitable. Keep the tailor’s contact details and a photo of the finished fit. If the dress is part of a family collection, ask how it should be stored after the event rather than leaving it crumpled in a bag overnight.
After the movement test, make only one change at a time. If the hem is safe but the shoulder feels restrictive, do not reopen the hem discussion unless the shoes have changed. If the dress feels secure but the full outfit feels uncomfortable, first check whether the issue comes from the undergarments, shoes, or a heavy accessory rather than the dress itself. A measured review helps you avoid unnecessary last-minute changes and keeps the alteration work focused on the problems that matter.
The finished goal is not a dress that feels brand new or follows a rule about what an 80s gown should look like. It is a dress that stays in place, lets you move, works with your shoes, and still feels like the piece you chose. If a detail makes you smile and does not interfere with fit, it can stay. A thoughtful alteration can create room for the garment’s character and for you to enjoy the event without constantly managing your outfit.
FAQ
Can an 80’s prom dress be altered to fit a different body shape?
Often, some fit adjustments are possible, but the answer depends on the dress’s seams, lining, fabric, condition, and how much material is available. A tailor needs to inspect the garment before promising a result. Ask which changes can be made through existing seams and which would require rebuilding a section. If the bodice or zipper is fragile, repair and stabilization may need to come before taking the dress in or letting it out.
What should I alter first on a vintage prom dress?
Prioritize security and movement first. Start with a bodice that slips, a strained closure, a seam that needs repair, or a hem that catches under your shoes. Once those issues are addressed, decide whether a style change is still necessary. A decorative detail may feel less urgent after the dress fits comfortably, so try the garment with its complete outfit before requesting a redesign.
Should I remove the shoulder pads or bows from an 80’s prom dress?
Only if you want that design change and a tailor confirms it will work with the dress’s construction. Shoulder pads may affect the shape of a sleeve or bodice, while a bow may conceal a seam or anchor another piece. Ask whether the detail can be temporarily pinned or removed without cutting so you can preview the result. You can also keep the feature and let fit, shoes, and the rest of the outfit provide a quieter finish.
How long before an event should I take the dress to a tailor?
Contact a tailor as soon as you know you plan to wear the dress, especially if it needs repairs, has several layers, or includes delicate trim. Timing varies by shop and the amount of work, so ask directly about availability and follow-up fittings. Bring the shoes and undergarments you plan to wear. Leaving extra time gives you a chance to approve the result and find another option if the alteration is not practical.
Can I shorten a full 80’s prom dress at home?
A long or layered hem can be more complicated than it looks, particularly when the lining and outer skirt hang differently. If the fabric is valuable, fragile, embellished, or meaningful to you, ask a formalwear tailor to assess it before cutting. For a simple, sturdy dress, a person with suitable sewing experience may be able to hem it, but first pin the intended length with the actual shoes and check the result while walking. Once material is cut away, restoring the original length may not be possible.
How do I test whether the altered dress is comfortable enough for a full evening?
Wear the dress with the planned shoes and undergarments. Walk, sit, stand, reach, turn, climb a few steps, and move your arms as you would while dancing. Check that the bodice stays secure, the hem clears your shoes, and closures or trim do not catch. If anything shifts, pulls, rubs, or restricts your breathing, describe the exact movement that causes it and ask the tailor whether another adjustment is appropriate.
How can I make alterations without losing the dress’s vintage character?
Choose a few details you want to preserve before the appointment and make comfort-related changes the first priority. Ask about adjustments that use existing seams, can be undone, or avoid cutting away original material. You do not have to modernize every detail. A secure fit and a hem that works with your shoes can make the dress easier to wear while leaving its distinctive shape and trim intact.
Finish the look
The little extras that make a summer outfit feel complete
From beach days to city weekends, these easy pieces bring comfort, texture, and a polished finishing touch.

FENBEN
Straw Hobo Crossbody Bag
A handwoven straw bag with both short and crossbody straps—an effortless finishing touch for vacation looks and warm-weather outfits.
Shop the bag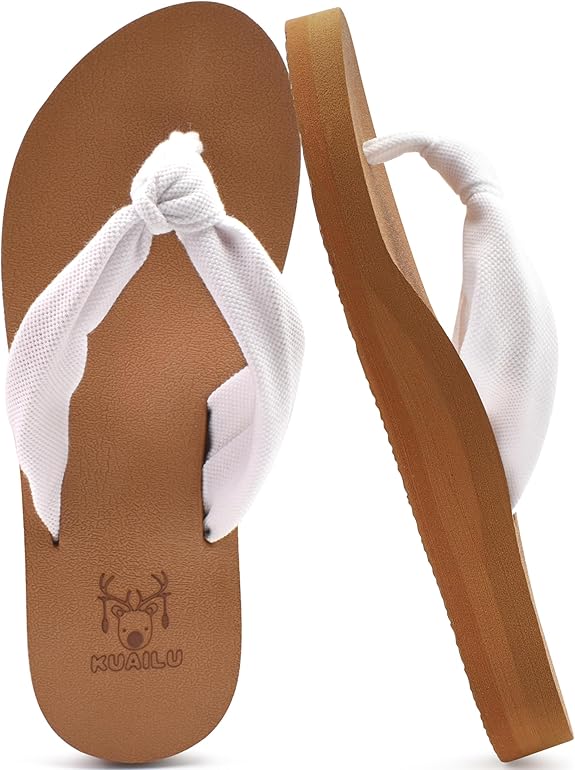
KuaiLu
Flip Flops with Arch Support
Cushioned, lightweight sandals with supportive arch design—a practical choice for beach trips, errands, and long summer walks.
Shop the sandals
baleaf
Athletic One-Piece Swimsuit
A functional one-piece with adjustable straps and moderate coverage, designed for swimming, training, surfing, and active beach days.
Shop the swimsuit
Astylish
Linen-Cotton Button-Down Shirt
A relaxed cotton-linen shirt with a collared V-neck and roll-up sleeves—easy to style over swimwear or with denim and shorts.
Shop the shirt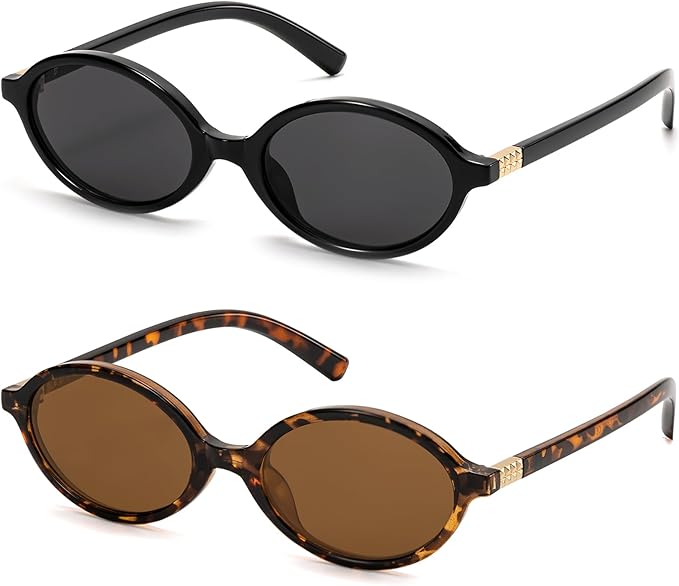
ViewJoy
Retro Oval Sunglasses
Small oval sunglasses with a 90s-inspired silhouette and UV400 lens protection—a quick way to add a vintage edge to everyday looks.
Shop the sunglasses
Affiliate disclosure: This section contains affiliate links. If you make a purchase through these links, I may earn a commission at no additional cost to you. Product selection, pricing, availability, and delivery terms may change—please review the current details on Amazon before purchasing.
As an Amazon Associate I earn from qualifying purchases.